During each cycle there are many factors that impact your ability to get pregnant, one of them being implantation. While many people pay attention to timing ovulation (and rightly so!), less attention is often given to the implantation window, or the time during your cycle when a fertilized egg will implant in the uterine wall.
Contrary to what you might have been told, this time in your cycle is trackable just like ovulation! Your hormone levels during implantation play an important role in helping you get and stay pregnant – specifically one hormone, progesterone.
When your body breaks down progesterone, it comes out in urine as pregnanediol-3-glucuronide, or PdG. PdG is one of the best tools for keeping tabs on your fertility and increasing your chances of getting pregnant. Keep on reading and learn how Proov can help you track your PdG levels!
Why are PdG levels important?
After ovulation, if an egg is fertilized, it begins the long journey down the fallopian tube into the uterus, where it will hopefully implant and grow into an embryo and then a fetus. For that to happen successfully though, the uterine lining has to be thick and stable for the embryo to implant.
This doesn’t just happen on its own. It’s the work of progesterone, an important hormone that’s made by the leftover follicle after ovulation. Progesterone stabilizes the uterine lining during the luteal phase, or second half, of the menstrual cycle. If progesterone levels are high enough, and sustained long enough, the uterine lining will stick around long enough for the fertilized egg to travel all the way to the uterus and implant.

If progesterone levels are too low, though, the uterine lining may be shed early and implantation can’t happen successfully. This is actually a major cause of infertility and early pregnancy loss, and that’s why PdG, the urinary metabolite of progesterone, is so important.
PdG levels in your first morning urine reveal your average blood progesterone levels from the day before, and having high enough PdG levels during the implantation window increases your chance of successful pregnancy. That’s why PdG tests may be one of the most powerful at-home tests when trying to get pregnant.
What to Know About the Implantation Window
The implantation window is the time during the luteal phase when the fertilized egg (technically called a blastocyst at that point) is able to make its new home in the uterine wall. This happens approximately 7-10 days after ovulation, once the blastocyst has made its way through the fallopian tube!
While PdG levels may vary slightly during the implantation window, they should be at least 5 µg/mL (equivalent to 5 ng/mL progesterone) each day but may range from 2-25 µg/mL. Testing with Proov Confirm (our FDA cleared PdG test) or Proov Complete (which contains a Multihormone test strip that measures PdG) will help you make sure you’re hitting these numbers and ovulating successfully.
To find the implantation window, you’ll need to make sure you know when ovulation is. If you aren’t already, you’ll want to start predicting or tracking ovulation with a biomarker like cervical mucus, luteinizing hormone, or basal body temperature.
Analyzing PdG Levels
Let’s finally get down to business – how do you analyze PdG levels at home during the implantation window? Just follow these steps!
Note that you’ll have to take a baseline test the first time you use Proov Complete or Confirm PdG Tests – that test will follow the same steps, but will be near the beginning of the cycle. Check out the instructions included with your kit or the free Proov Insight app for more details.

1. Identify the First Day of Your Implantation Window
Once you’ve logged peak fertility date in the Proov Insight app using your preferred method, the app will count 7 days to find the start of your implantation window. On the first day of the window, you’ll take your first PdG test! You’ll also test on the next three days.
2. Collect Urine Sample
For PdG testing, you’ll need to collect your first morning urine, meaning the first time you use the bathroom after your longest period of sleep. This is important because the tests are calibrated for the amount of PdG that builds up in your urine overnight, and that’s also when the greatest amount of PdG is made.
Collect your urine in a clean, dry cup (either reusable or disposable, just make sure you wash reusable collection cups well).
3. Take the Tests & Wait for Results
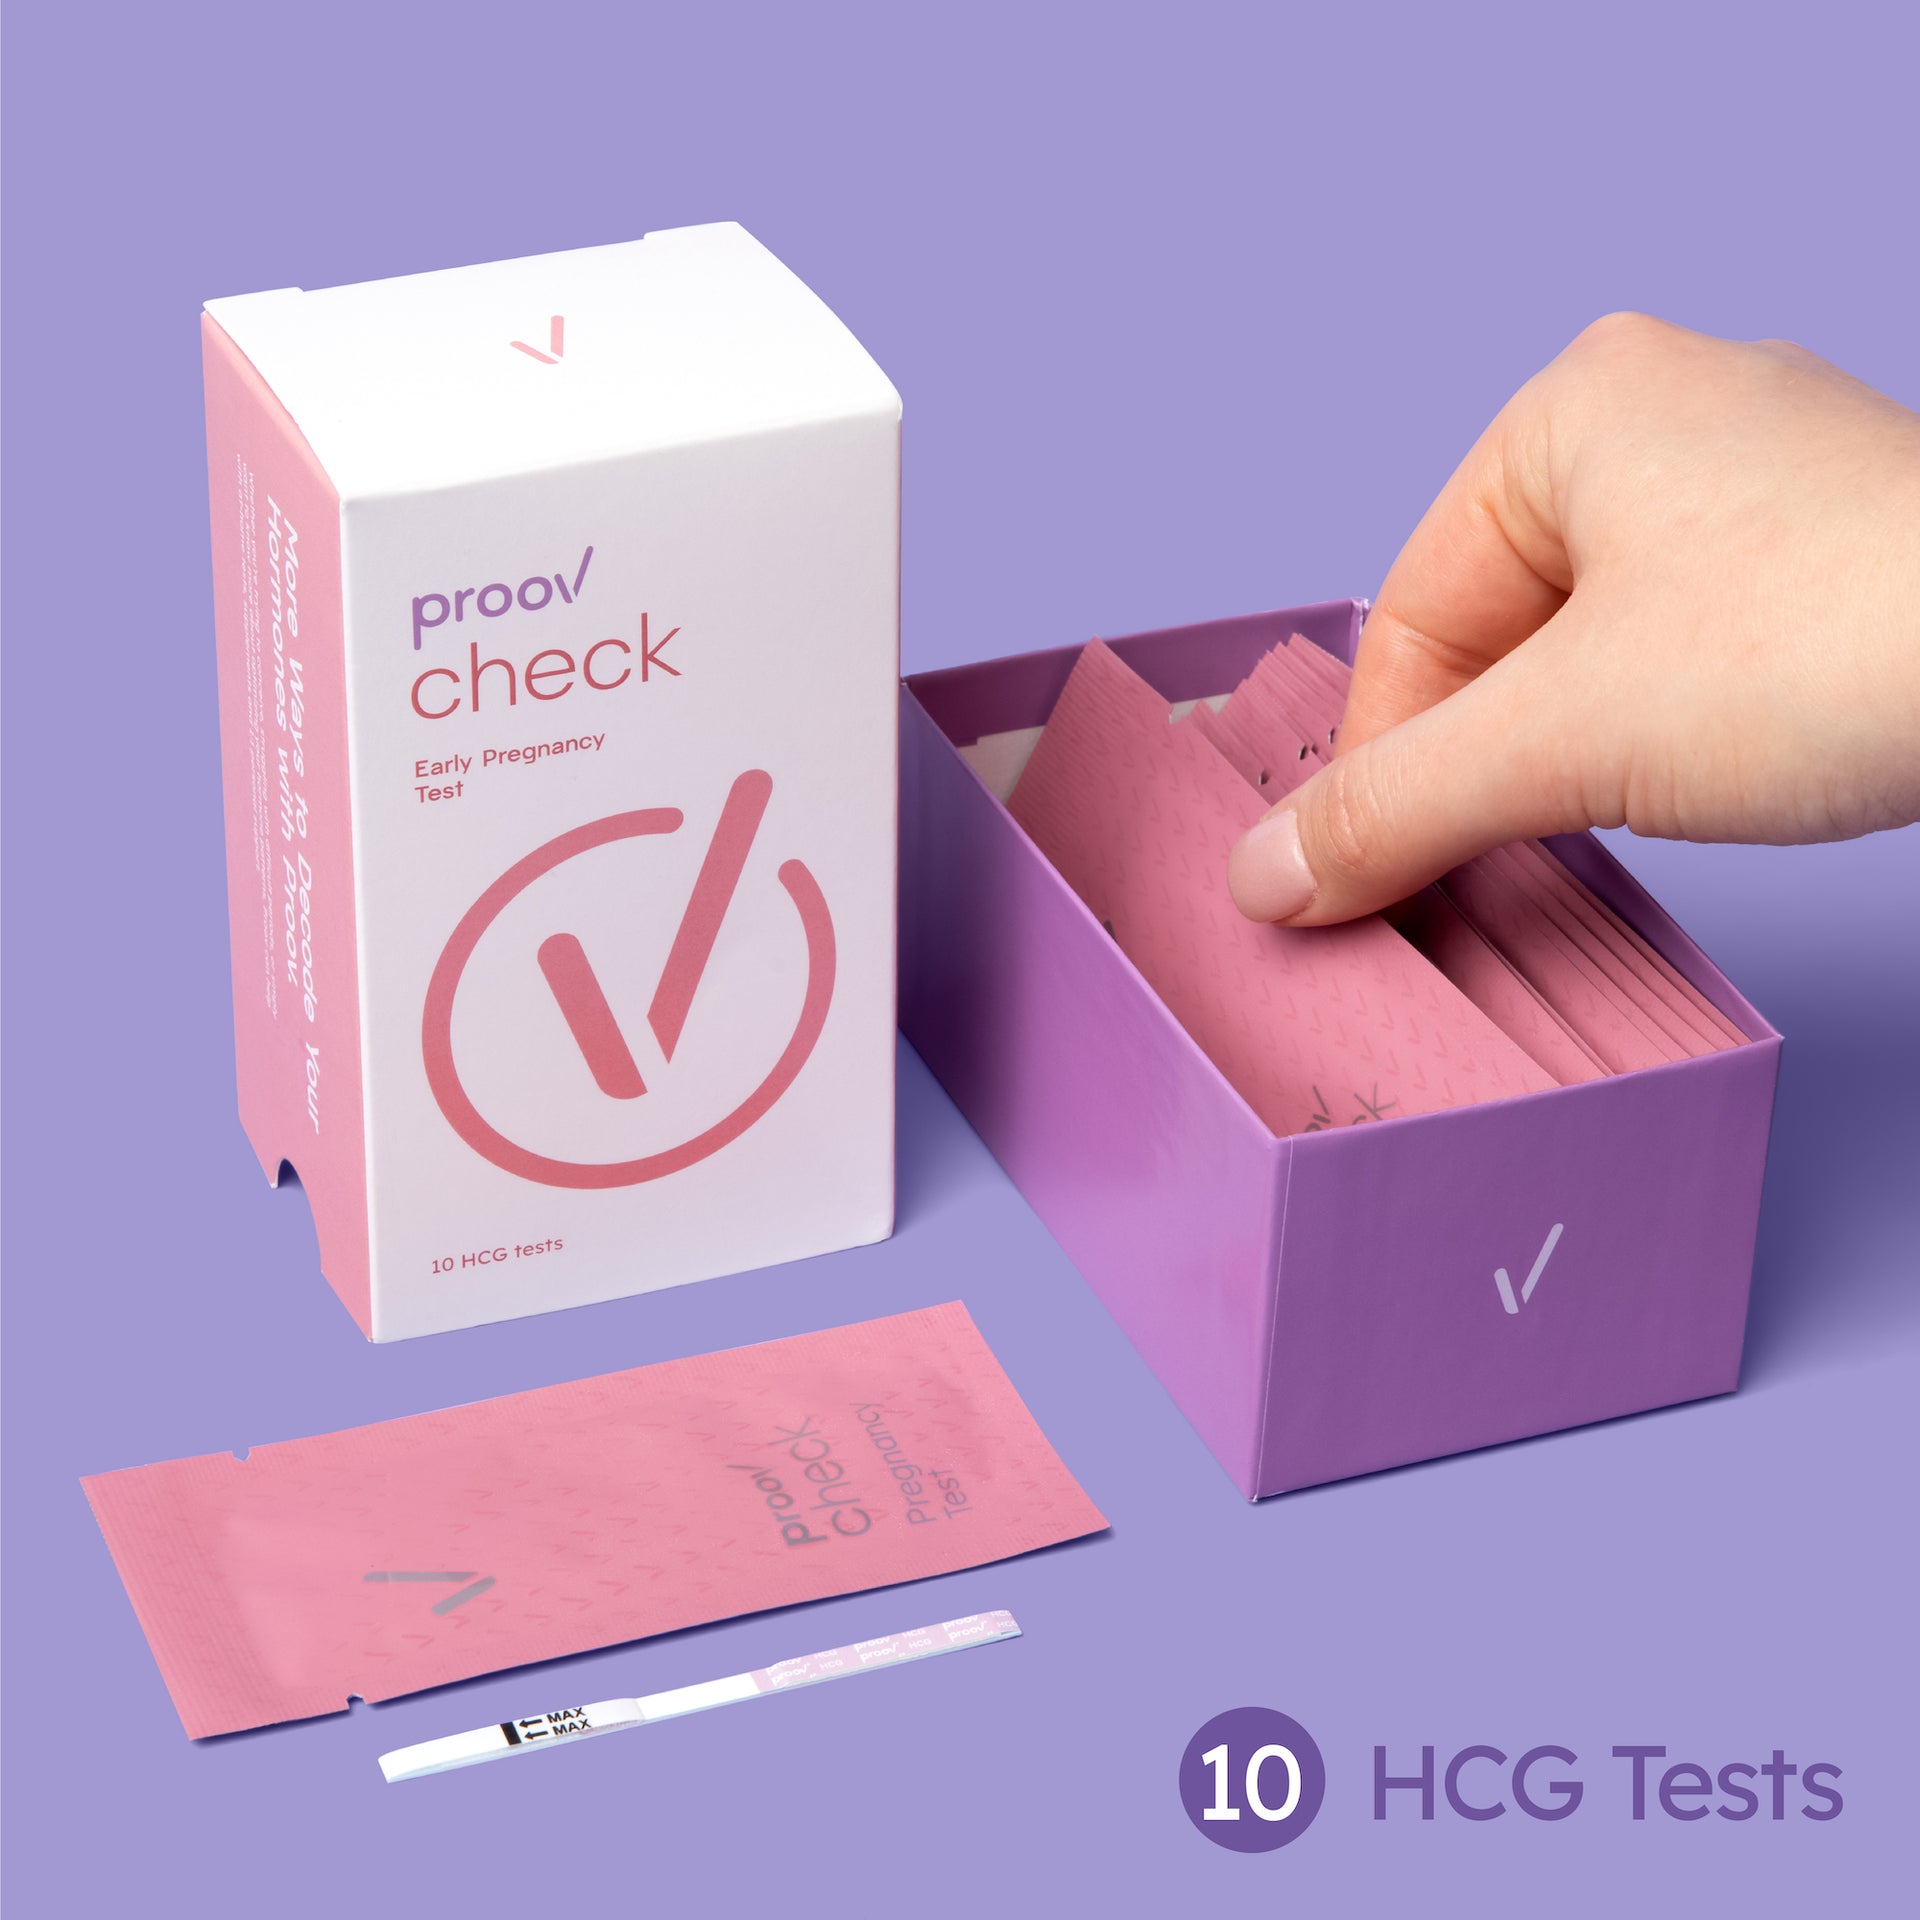
To perform the test, open the PdG or Multihormone Test strip immediately before use and dip into the urine just below the “max” line. Dip the strip for 5-10 seconds, then set it down on a dry surface for 10 minutes to let the test develop properly. Hint: the Proov Insight App has a built in timer!
After 10 minutes, the app will instruct you on how to scan and read your results. For best results, use a white surface like the card that came with your kit, and take the photo in a place with even, overhead lighting.
4. How to Interpret Results
While Proov Confirm PdG tests can be read by eye, the Proov Insight app will also interpret your results.
If all four of your tests are positive, congratulations! It’s likely that you’re ovulating successfully. Your PdG levels are where they should be to support healthy implantation and increase your chances of pregnancy.
Three out of four positive tests also likely reflect successful ovulation, since there can be natural fluctuations in PdG throughout the implantation window. If you’re getting two or fewer positive tests, it may be time to seek assistance or work on supporting progesterone production during the luteal phase (more on that later).
5. Tracking & Analyzing Your Results Over Time
The Proov Insight app will also calculate an Ovulation Score – a Proov-exclusive numeric interpretation of your overall PdG levels and success of your ovulation that cycle! This will make it easy to track changes over time, especially if you’re working on improving PdG or balancing your hormones. You can also compare each cycle in the app, but your Ovulation Score will be an easy number to help keep track.
6. Seeking Extra Advice from Professionals
If your Ovulation Score is low or you’re getting negative PdG tests, the first place to start is making sure you’re detecting ovulation correctly (i.e. using reliable biomarkers or hormone tests, not relying on a period tracker) and not missing your implantation window accidentally.
The next step is working on supporting progesterone production! Check out this article for some ways to do that. Finally, if you’ve been trying for several months with no success, even with positive PdG tests, it may be time to consult a professional like your physician or a fertility specialist. With Proov, you can talk to a doctor to get specific advice for your situation.
When you do talk to someone, you can bring your PdG testing results and they may help guide your treatment or diagnoses! When it comes to fertility, knowledge is power.


